Tutorial: How to Create an ISO Image Using WinCDEmu
You can optimize the storage of device drivers, applications, and everything else that comes on a CD/DVD disc by creating ISO images and storing them on your hard disk. Installing a program from mounted ISO image is much faster than using a real optical disc, double-clicking on the image to mount it is faster than inserting it into the drive, and finding the right image using Windows Search is more convenient than getting one of those 10 driver CDs from the shelf. While another tutorial explains how to mount ISO images using WinCDEmu, this one shows how to create the images from your discs.
To create an ISO image using WinCDEmu, do the following:
- Insert the disc you want to convert into the optical drive.
- Open the "Computer" folder from the start menu.
-
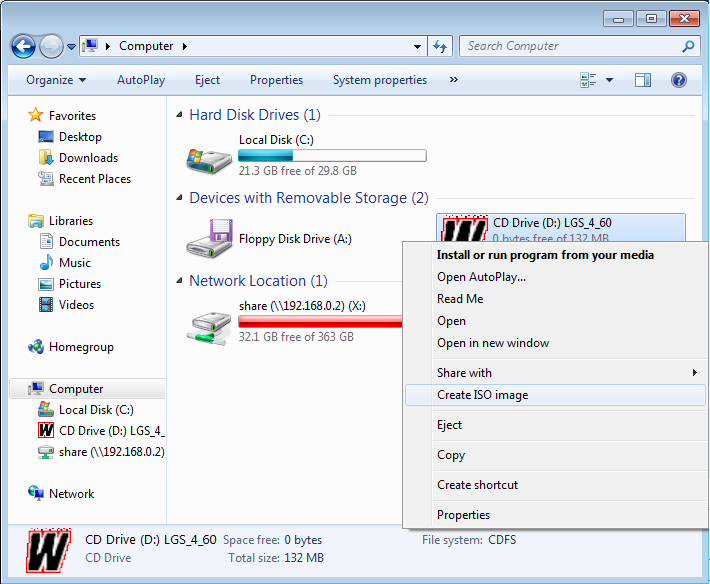
Right-click at the drive icon and select "Create ISO image":
-
Select a file name for the image. This is similar to saving a newly created
document or a picture:
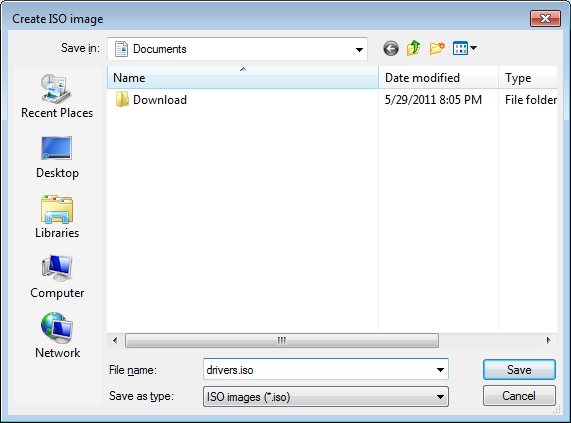
- Press "Save".
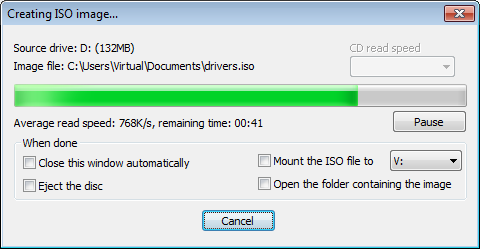
- Wait until the image creation completes:
- Once the image is created, you can eject the actual disc and mount the image every time you need it. A tutorial on mounting the images is available here.
- If you have any questions or problems, feel free to post on WinCDEmu forum.